Edges and surfaces
Fill a small hole in unfinished wood
Make a cosmetic repair and test its appearance before treating the visible project.
Materials and practice dimensions
- Unfinished scrap matching the project, about 150 × 80 mm, with an existing shallow defect
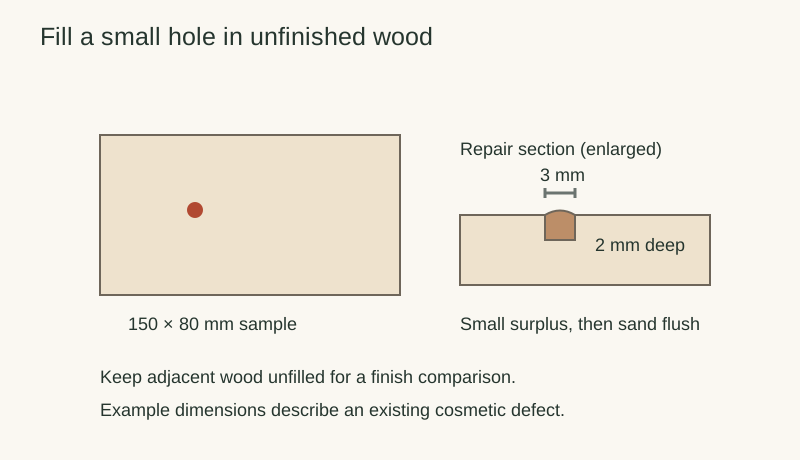
- Example defect: about 3 mm across and 2 mm deep, away from a joint or fastener
- Minwax Stainable Wood Filler, putty knife, sanding block, dust cleanup and the intended compatible finish
This procedure uses the named filler on a small cosmetic defect. It does not restore a failed joint or establish screw-holding strength. The maker excludes holes larger than 3/4 inch (19.05 mm). A matching sample lets you judge colour before repairing a visible part. Read the current container directions and precautions.
Work through the procedure
1. Assess and record the defect
Measure the existing hole without enlarging it. Note its location and whether the surrounding wood is sound. Choose another repair method if the defect crosses joinery, surrounds a working fastener or contains rotten wood. Avoid sanding unknown old coatings.
2. Prepare the sample
Use a clean, dry surface without oil, dirt or loose particles. Mark the defect’s position on the worksheet. Keep an adjacent area unfilled so the final sample has a direct colour comparison.
3. Pack the filler
Press filler into the defect with the putty knife. Leave a small excess above the surface for later levelling and remove surrounding smears. Follow the container precautions for handling and cleanup.
4. Wait, then level
Allow the filler to dry completely under the product directions. The maker describes many shallow repairs drying within two hours, with deeper work taking longer. Readiness matters more than the clock. Sand the repair flush with a supported block and remove residue.
5. Test the actual finish
Apply the intended compatible stain or clear finish to both repaired and adjacent areas according to its label. Let the sample dry, then inspect it in the light where the finished object will be used. Decide whether the appearance is acceptable before repeating the repair on the project.
Worked example
Record a 3 mm-wide, 2 mm-deep defect on a 150 × 80 mm offcut. Reserve a comparison area beside it, not on a different species. If the repair looks darker after staining, a second coat across the whole object may not solve the mismatch. Change the sample treatment or choose another cosmetic approach before committing the visible face.
Check the result
- The repair is fully dry, flush and free of loose residue.
- There is no visible smear beyond the defect under the intended finish.
- The appearance is acceptable beside the unfilled wood in the intended lighting.
If it does not work
If the fill shrinks below the surface, follow the maker’s instructions for another application and repeat drying and levelling. If the colour is unacceptable, keep the failed sample as a record and trial a different compatible approach. Do not use stainable filler as evidence that a repair will be invisible.
Keep a workshop record
Use the downloadable worksheet or print this page and write beside each prompt.
Wood / defect width and depth: ____________________
Product and label directions: ____________________
Application / ready-to-sand times: ____________________
Flushness and surrounding smears: ____________________
Finish and drying conditions: ____________________
Appearance decision: ____________________
Continue your work
Sources and method
The practice dimensions, examples and diagrams are original. Manufacturer guidance is scoped to the named products. Review the current product instructions before using them. Sources checked October 20, 2026.
- Minwax: Stainable Wood Filler directions — How to use: preparation overview, application overview and steps.